


Pool plumbing pressure testing documentation gives a homeowner a clearer record of underground work before concrete, soil, decking, or landscaping hides it. The test itself is only one part of the process. You also want to know which lines the team tested, when testing occurred, what conditions applied, who performed it, and how the team addressed any concerns.
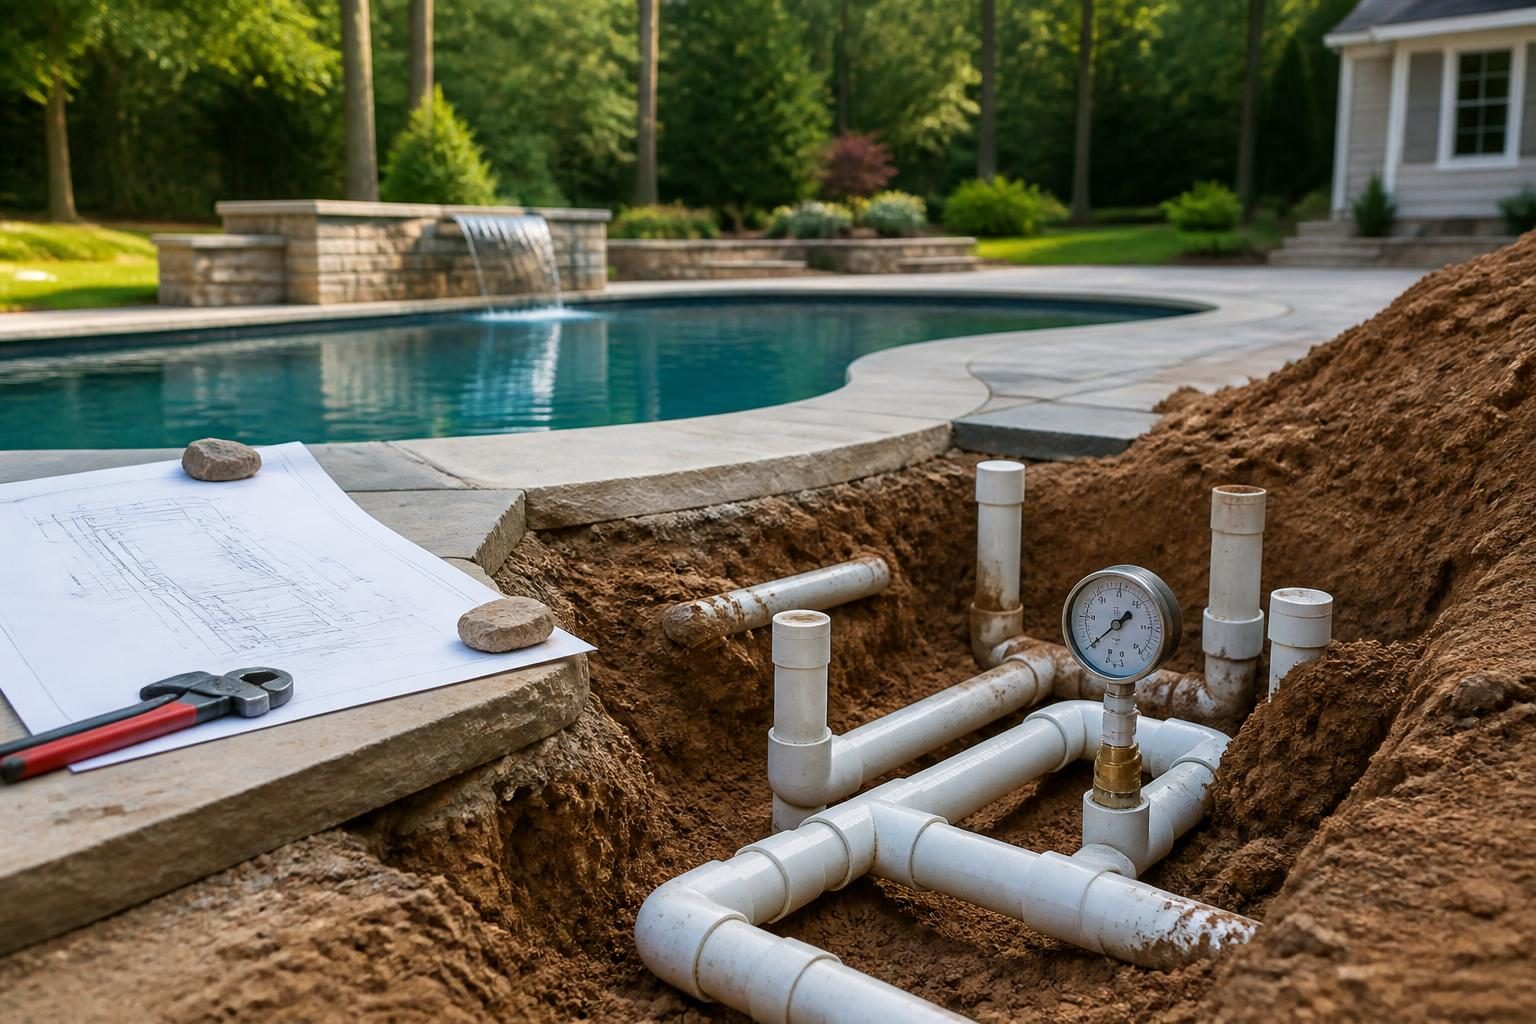
Pressure testing generally matters after workers install pool circulation plumbing and before later work makes the lines difficult to see or access. The exact process depends on the pool design, plumbing materials, equipment, project scope, and contractor procedures. North Carolina requirements can also vary by jurisdiction and adopted code. Treat this article as a documentation guide, not as a substitute for a licensed professional or local inspection department.
When pool plumbing pressure testing is relevant
Pool circulation plumbing carries water between the pool, skimmers, drains, returns, heater, filter, pump, and other equipment. Some systems also include water features, cleaners, spas, autofill devices, or separate lines. Each added feature can create more connections and more records to track.
A pressure test places controlled pressure on a plumbing section. The person conducting the test then observes whether the system holds that pressure under the stated conditions. A homeowner should not assume that one test covers every pipe. Ask whether the team tested each relevant line and connection shown on the approved or current construction drawings.
Testing may be appropriate at several project points:
- After workers assemble and connect underground plumbing.
- Before the pool shell, deck, soil, or other work conceals the lines.
- After a repair, reroute, design change, or damaged pipe replacement.
- Before equipment startup, where the contractor’s process calls for a separate check.
- When a local inspection or approved plan requires a documented inspection step.
Do not confuse a plumbing pressure test with a final equipment test. A system can pass an early test and still need later checks after workers connect pumps, filters, heaters, valves, and controls. Ask the pool contractor or licensed plumbing professional to explain which stage each record represents.
What the test record should identify
Useful pool plumbing pressure testing documentation should connect the result to your project. A short message saying “passed pressure test” may not answer important questions later. Request a dated record that identifies the tested area and the testing conditions.
Key details to request
- Property address or project identifier.
- Date and approximate time of the test.
- Name and business information of the person or company conducting it.
- Description of the lines tested, such as suction, return, feature, spa, or equipment lines.
- Pipe material, size, or other identifying information when available.
- Test pressure and the method or procedure used.
- Duration of the observation period.
- Gauge or measuring device information, if recorded.
- Whether the lines were isolated from connected equipment during testing.
- Observed pressure change or other stated result.
- Any limitation, exclusion, repair, retest, or unresolved question.
- Signature, initials, or other confirmation from the responsible person.
The correct details depend on the system and professional procedure. Do not select a pressure, testing duration, or acceptance standard yourself. Instead, ask the responsible professional to state the basis for the test and whether local officials require a particular format.
Build a photo record before plumbing is concealed
Written pool plumbing pressure testing documentation works best with photographs. Once workers fill trenches or place concrete, a future repair may require more investigation. Photos cannot prove that a pipe is leak-free, but they can show routing, fittings, sleeves, penetrations, and access points at a specific stage.
Take wide photos that show the plumbing in relation to the pool shell, house, equipment pad, walls, steps, and property features. Follow them with closer images of valves, tees, capped ends, pipe transitions, and unusual turns. Use a consistent file name, such as the date followed by the location and line type.
Before workers conceal the plumbing, ask whether the contractor can provide a marked-up plumbing plan. The drawing should reflect approved changes or field adjustments. If a photo does not show scale or direction, place a tape measure or another ordinary reference in the frame when safe and permitted.
Keep the record factual. Note what the photo shows, not what you believe it proves. For example, “return lines visible beside the east pool wall before backfill” is more useful than “plumbing installed correctly.”
Questions to ask before the test
Timing matters because access changes quickly during construction. Use a written question list before the scheduled test and save the response with your project records.
- Which plumbing sections will be tested?
- Will the test occur before backfill, shotcrete, concrete, decking, or other concealment?
- Will connected equipment be protected or isolated during the test?
- What record will the homeowner receive?
- Will the current plumbing drawing be updated if field routing changes?
- Who will review a failed or inconclusive result?
- How will workers document and retest repairs?
- Which inspection department or licensed professional should receive a copy, if applicable?
Ask these questions calmly and early. The goal is a shared project record, not a technical conclusion by the homeowner. If a response is unclear, request that the responsible contractor or professional explain the term in plain language.
How to document a failed or unclear result
A failed test does not tell you the cause by itself. Possible causes can include a connection, fitting, valve position, test setup, damaged section, or documentation error. Diagnosis belongs with the qualified person responsible for the plumbing work.
Record the date, affected line, stated result, and immediate next step. Save photographs before the area changes, if doing so is safe and the contractor permits access. Request a written repair description that identifies what changed. Then ask for a new test record that clearly relates to the repaired section.
Do not authorize excavation, cutting, equipment changes, or other work based only on a guess. Ask for the proposed scope and any related cost or schedule effect in writing. A change may require an updated drawing or written approval under your contract. This pool construction change order checklist can help organize those details.
Keep failed results in the file. Removing an earlier record can make the project history harder to understand. A complete record shows the initial finding, response, retest, and final status without assigning blame.
Connect pressure records with inspections and project documents
Pool plumbing pressure testing documentation should sit with the permit, approved plans, revisions, inspection notes, invoices, and handover records. Use one folder for the project and a subfolder for concealed-work evidence. Save original files, not only screenshots or compressed images.
Local inspection practices differ. Some plumbing or building work may involve required inspections, while a contractor’s quality-control test may remain separate. Ask your local inspections department what records it expects, when access is required, and whether a private test report satisfies any official requirement. The North Carolina Office of State Fire Marshal provides current code documents and interpretations, but the local authority remains important for project-specific direction. Review its official documents and interpretations.
For broader inspection preparation, see how to prepare for pool inspections in North Carolina. Keep copies of approved plans and ask the contractor to identify any field change that affects underground plumbing. If soil, groundwater, drainage, or site conditions changed the route, preserve the related explanation and drawing. Soil conditions may affect excavation and construction decisions, so homeowners can also review when to ask about soil testing.
Use a simple homeowner documentation checklist
Before workers conceal the plumbing, confirm that your file contains the following:
- Current pool and plumbing drawings.
- Photos of visible underground routes and connections.
- A test report for each applicable plumbing section.
- Test date, method, pressure, duration, and result.
- Names of responsible professionals or companies.
- Written notes about exclusions, repairs, and retests.
- Inspection records or local guidance, when applicable.
- Approved changes and related cost or schedule documents.
- Equipment connection and startup records.
- A final marked-up plan for future service.
Use a cloud backup and a local copy. Label every file with the project address, date, and subject. If several people send documents, ask them to use consistent names. A good record should help a future service professional understand what workers installed without relying on memory.
Why these records matter after construction
Underground plumbing becomes difficult to inspect after concealment. Years later, a service professional may need to locate a line, understand a reroute, isolate a feature, or distinguish original work from a later repair. Photos and test records can narrow the questions before invasive work begins.
Records also support clear communication during handover. Ask for the final plumbing diagram, valve labels, equipment manuals, and any limitations noted during construction. This broader new pool handover checklist can help you collect related records before the project file is closed.
Documentation is not a guarantee of future performance. It does not replace inspection, maintenance, or professional diagnosis. It simply preserves useful evidence about what the team tested, when it tested the system, and what changed before concealment.
Make the request before the access window closes
Request the test schedule, report format, photographs, and updated plumbing plan before workers cover the underground work. Review each record for project-specific details rather than accepting a vague pass or fail statement. Keep unresolved questions visible until the responsible professional explains them and documents the next step.
Good pool plumbing pressure testing documentation supports future service, inspection discussions, and a clearer project handover. For permit, inspection, plumbing, electrical, drainage, or structural questions, consult the local inspections department and the appropriate licensed pool contractor, plumber, electrician, engineer, surveyor, or other qualified specialist. Build a Pool in North Carolina offers homeowner education, but local conditions and professional review control project decisions.
Comments are closed