

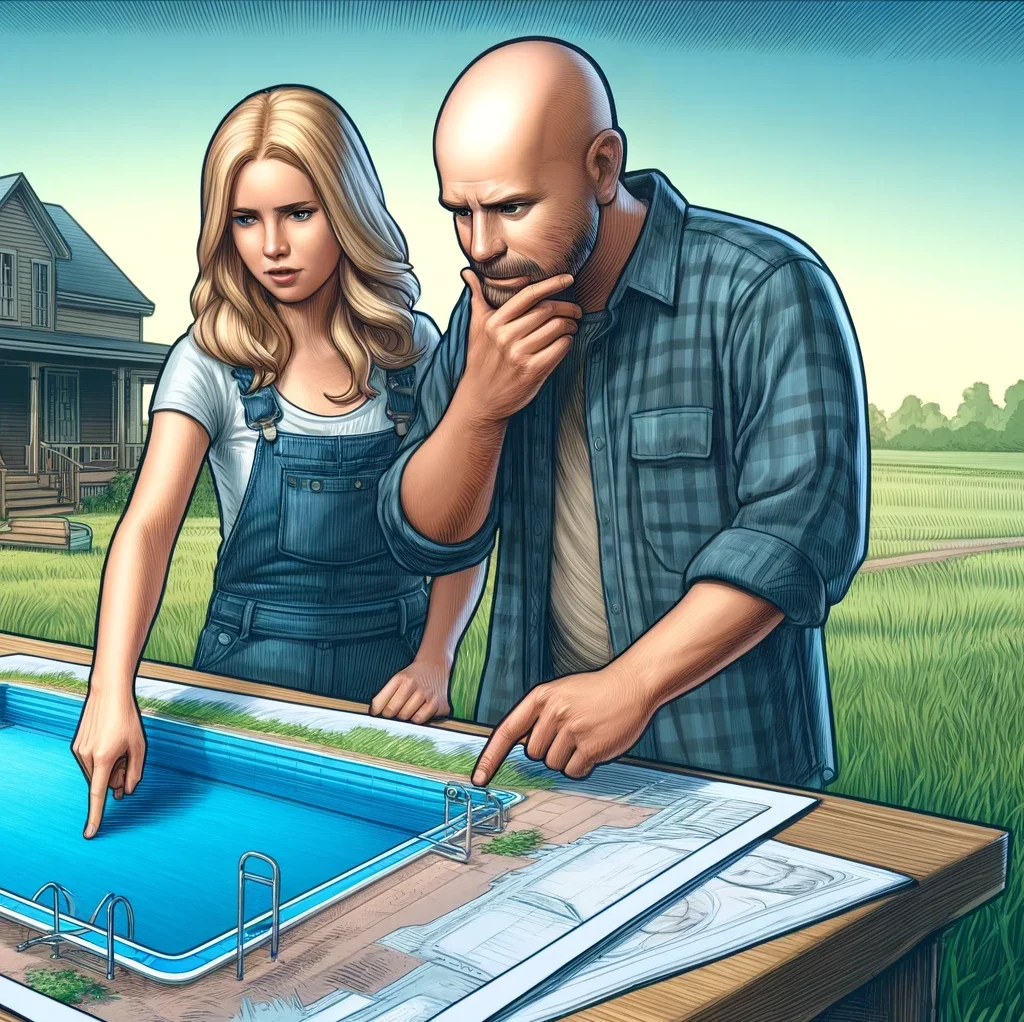
Pool construction around existing sprinkler system lines requires more than marking visible sprinkler heads. Irrigation pipes may run underground between valves, zones, hose connections, and lawn areas. Before excavation begins, create a usable map, identify components that need protection, and agree on how changes will be handled.
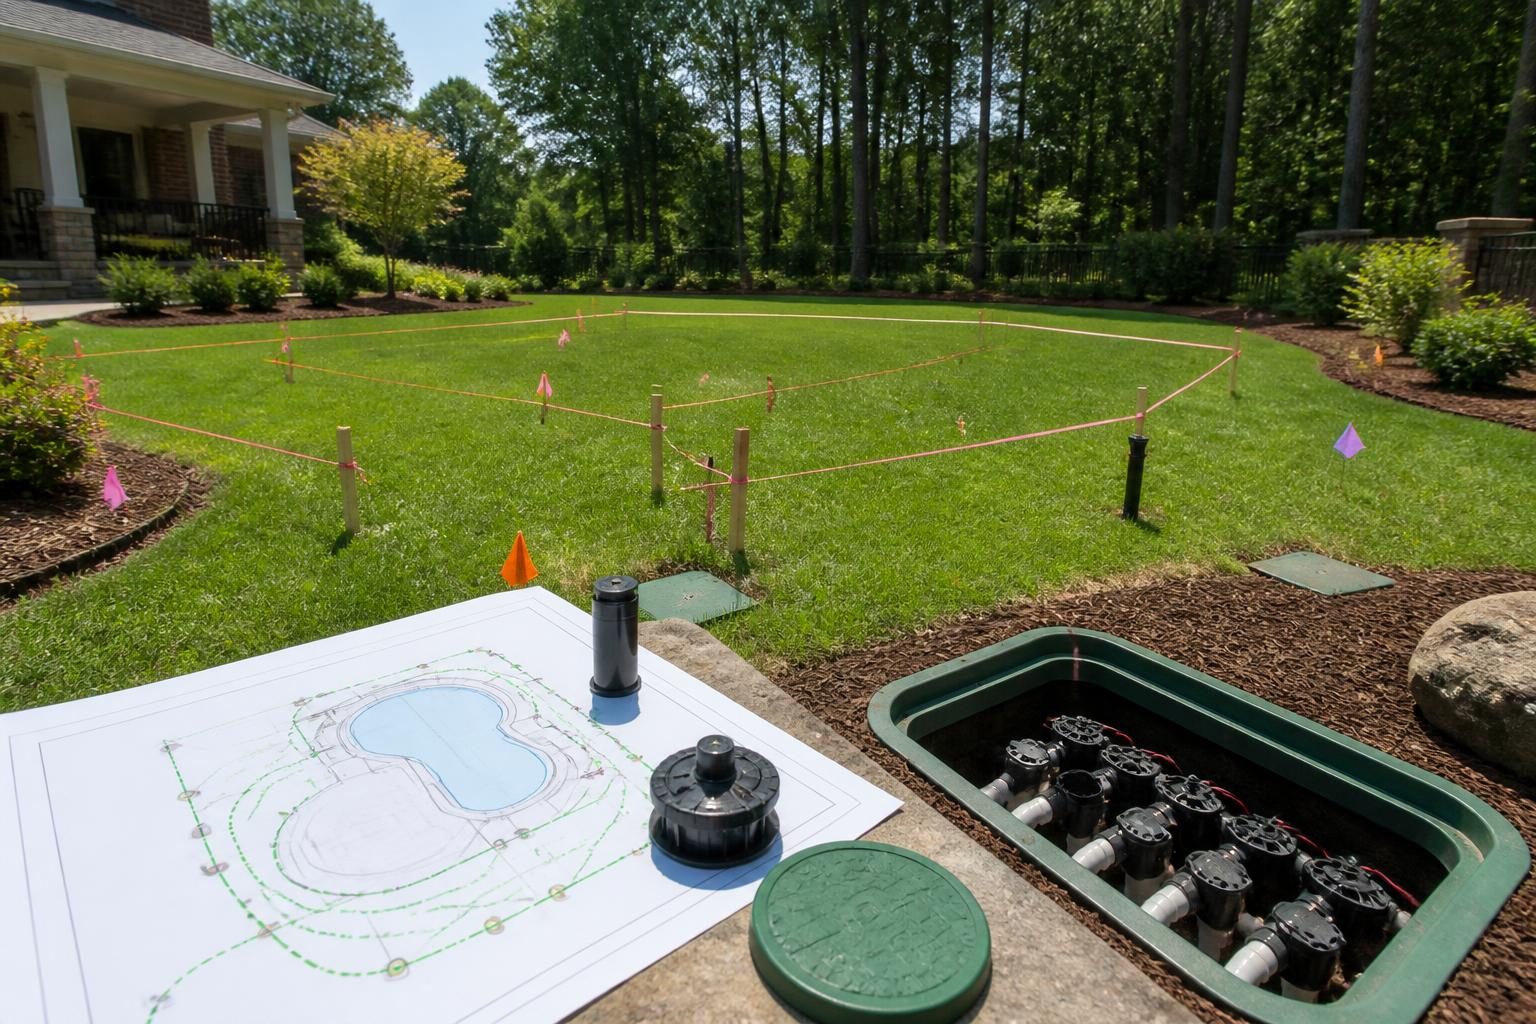
Your pool layout may cross irrigation routes even when the system appears simple. Heavy equipment can affect heads, valve boxes, controllers, exposed pipes, and nearby planting beds. A clear plan helps the pool contractor, irrigation professional, and homeowner work from the same information.
Why existing irrigation deserves early attention
An irrigation system usually serves the landscape that exists today. A new pool changes that landscape. The shell, deck, equipment area, drainage features, planting beds, and access route can all affect the original watering pattern.
Underground lines are difficult to locate by sight. A sprinkler head shows one point in a zone, not the complete route. Pipes can follow property edges, planting beds, walkways, or other practical paths. Previous repairs may also have changed the original installation.
- Cut lines may serve lawn or planting areas outside the pool footprint.
- Sprinkler heads may end up under the future deck or in machinery paths.
- Valve boxes may become trapped beneath hardscape or inaccessible planting.
- A shortened zone may water unevenly.
- Unclear responsibilities can create disagreement about repairs.
Do not assume the pool contractor knows the irrigation layout. An irrigation professional also needs current pool drawings before recommending a reroute. Treat irrigation as a separate site feature that requires coordination.
How to map sprinkler lines before excavation
Start at the irrigation controller. Photograph it, label each active program, and record the areas that each station waters. Note whether a zone serves turf, beds, trees, or a narrow side yard.
Run each zone separately while walking the property. Mark every sprinkler head, drip area, hose connection, valve box, and unusually wet or dry location. Use temporary flags or stakes, but do not rely on them as permanent construction markings.
Next, create a simple drawing or annotated aerial image. Include the house, property edges, pool outline, proposed deck, equipment area, access route, major trees, patios, and drainage features. Add these irrigation details:
- Sprinkler heads and approximate spray directions.
- Valve boxes and the zones they appear to control.
- The controller location and rain or soil sensors.
- Outdoor faucets and visible backflow or shutoff components.
- Known repairs, capped lines, low-voltage wires, and exposed pipe.
Keep the map approximate unless a qualified professional confirms line locations. A garden probe or careful hand excavation may help locate shallow components, but homeowners should avoid probing near unknown utilities. For excavation planning, review North Carolina 811 and follow its current notification process. Utility marking does not necessarily identify private irrigation lines.
For a broader property record, see How to Document Yard Conditions Before Pool Construction. Include irrigation photos and the working map in that file.
What to confirm with pool and irrigation professionals
Share the irrigation map before approving the final pool layout. Ask the pool contractor to show where excavation, pool walls, deck, drains, equipment pad, and construction access will affect existing lines.
Then ask an irrigation professional to review the proposed footprint. The review should consider the finished landscape as well as physical conflicts. A line that avoids the pool may still sit beneath a future deck, retaining feature, planting-bed edge, or equipment service path.
- Which lines will remain?
- Which heads need removal, capping, relocation, or replacement?
- Will any zone lose coverage because the lawn area changes?
- Can valve boxes remain accessible after grading and landscaping?
- Will the controller need new labels or programming?
- Who will test the system after heavy equipment leaves?
- Who supplies and pays for repairs if a buried line suffers damage?
- What drawing or marked-up photos will show the final route?
Ask for answers in writing. The irrigation plan may be a separate sketch rather than a stamped construction drawing. Its practical value comes from recording the intended route, components, responsibilities, and testing steps.
Pool equipment and control choices may also affect nearby irrigation power and access. If you plan integrated controls, compare the pool system with the irrigation controller. See Pool Automation System Planning for related questions.
Planning rerouting around the pool footprint
Pool construction around existing sprinkler system lines may require more than moving the nearest head. A zone may need a new pipe route, new heads, different spray patterns, or a new control sequence. The finished pool area may also reduce the landscape that needs irrigation.
Separate areas that will disappear from areas that will remain. Mark the future pool, deck, planting beds, lawn, fences, walkways, and equipment pad. Then identify the landscape that still needs water.
- Keep irrigation away from the pool shell and planned excavation where practical.
- Place valve boxes where future maintenance will not require deck removal.
- Avoid spray toward the pool, deck, furniture, or electrical equipment.
- Use separate coverage for beds and turf when their needs differ.
- Confirm that new grades will not bury heads or leave them too high.
- Review tree roots and mature planting before selecting a trench route.
Irrigation water can carry soil, mulch, fertilizer, and plant debris toward the pool. A revised layout should support the finished drainage and planting plan. For related planning, read Pool Landscaping Irrigation Planning North Carolina Homeowners Can Use.
Protecting components during construction
Before equipment arrives, identify components that will remain active or accessible. Photograph each valve box, controller, faucet, sensor, and exposed connection. Add visible markers that equipment operators can recognize.
Markers cannot replace a site plan or professional direction. They can move, disappear, or become hidden by soil. Ask the project team how it will protect marked components during excavation, delivery, grading, and deck work.
- Temporarily shut down irrigation during excavation and grading.
- Remove vulnerable sprinkler heads before machinery enters the area.
- Protect valve boxes from soil, traffic, and crushed materials.
- Keep the controller dry and accessible.
- Maintain a clear route to shutoffs if a leak occurs.
- Use hand work near known shallow lines when a qualified professional directs it.
Do not bury a valve box, splice, or shutoff because the finished grade changed. If a box must move, record its new location and confirm that its lid remains serviceable.
Documenting changes before, during, and after excavation
Good documentation starts before the first line is cut. Save the original map, controller photos, zone notes, and a dated video of every zone operating. Include wide views and close-ups of heads, boxes, sensors, and visible repairs.
Before excavation, ask the project team to confirm the approved pool footprint and affected irrigation areas. For pool construction around existing sprinkler system lines, update the irrigation sketch before work continues if the pool design changes.
During work, record the date and location of exposed or damaged lines, photos of nearby construction features, temporary caps or reroutes, written decisions about responsibility and timing, and changes to the deck, beds, drainage, or access route.
Use a written change order when scope, cost, materials, or schedule changes. The Pool Construction Change Order Checklist provides a useful structure.
After construction, run every remaining zone. Check spray direction, coverage, leaks, buried heads, valve access, and controller labels. Take a new video and mark final routes as accurately as possible. Keep the original and final maps together.
North Carolina conditions to verify locally
North Carolina properties vary in soil, grades, drainage, septic arrangements, flood exposure, and local review requirements. Irrigation changes may interact with grading or stormwater work. The NC DEQ Erosion and Sediment Control Manual provides state guidance, but confirm project-specific requirements locally.
If rerouting approaches a septic area, easement, well, utility, retaining structure, or drainage feature, pause and seek appropriate professional review. Do not use an irrigation map as proof that other underground systems are absent.
A practical pre-excavation checklist
- Photograph the controller, heads, valve boxes, sensors, faucets, and visible repairs.
- Run each zone and note what it waters.
- Mark components on an aerial image or site sketch.
- Overlay pool, deck, equipment, access, grading, and drainage plans.
- Ask an irrigation professional to identify conflicts and propose rerouting.
- Confirm who handles damage, testing, relocation, and payment.
- Record approved changes before excavation starts.
- Retest and remap the system after construction.
Thoughtful pool construction around existing sprinkler system lines protects more than irrigation equipment. It helps preserve usable landscaping, reduces surprises, and leaves records that explain what changed. Build a Pool in North Carolina encourages homeowners to treat irrigation coordination as site planning, not a last-minute repair task.
When conditions are unclear, consult the local inspections department, licensed pool contractor, irrigation professional, electrician, engineer, surveyor, septic professional, or another qualified specialist. Confirm current North Carolina and local requirements before excavation or system changes.
Comments are closed