

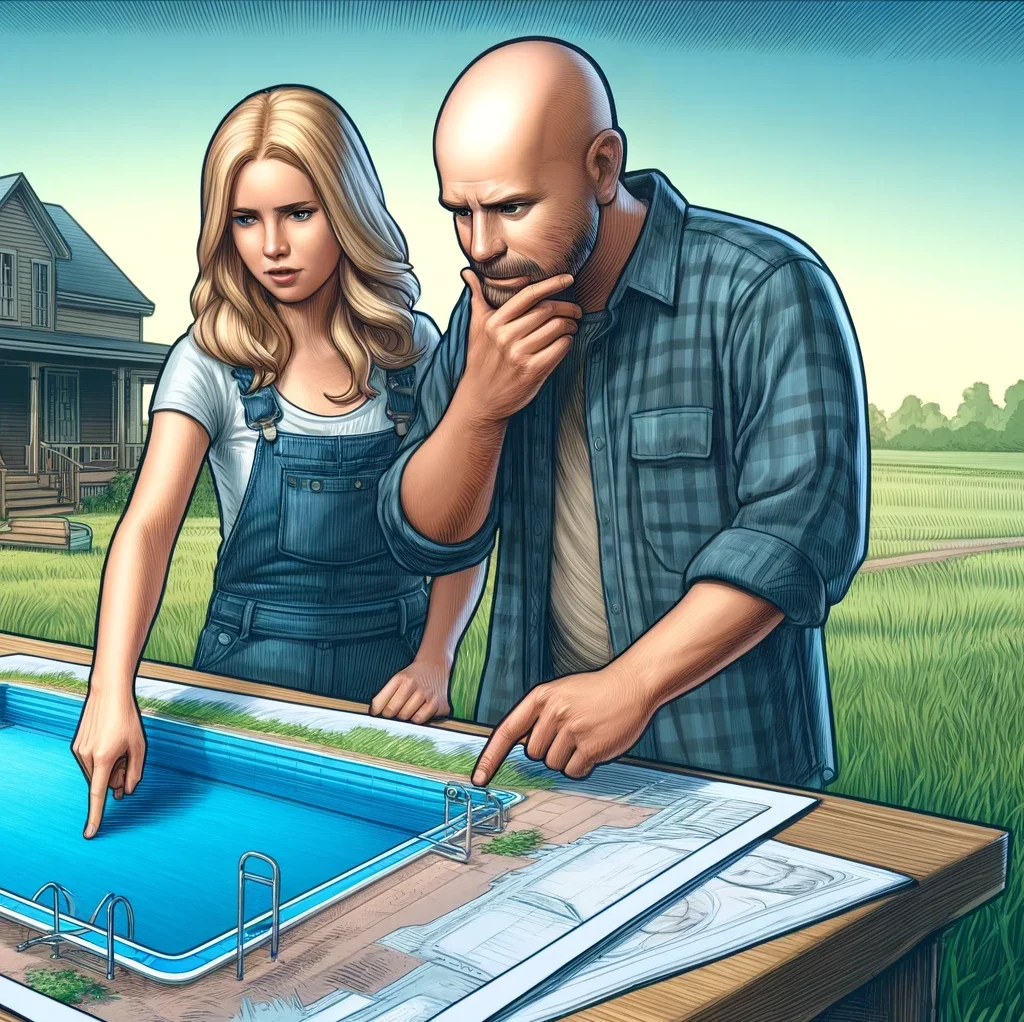
Before excavation changes your property, take time to document yard conditions before pool construction. A clear baseline can help you compare the site before, during, and after work. It can also help your project team understand existing landscaping, drainage, surfaces, utilities, and structures.
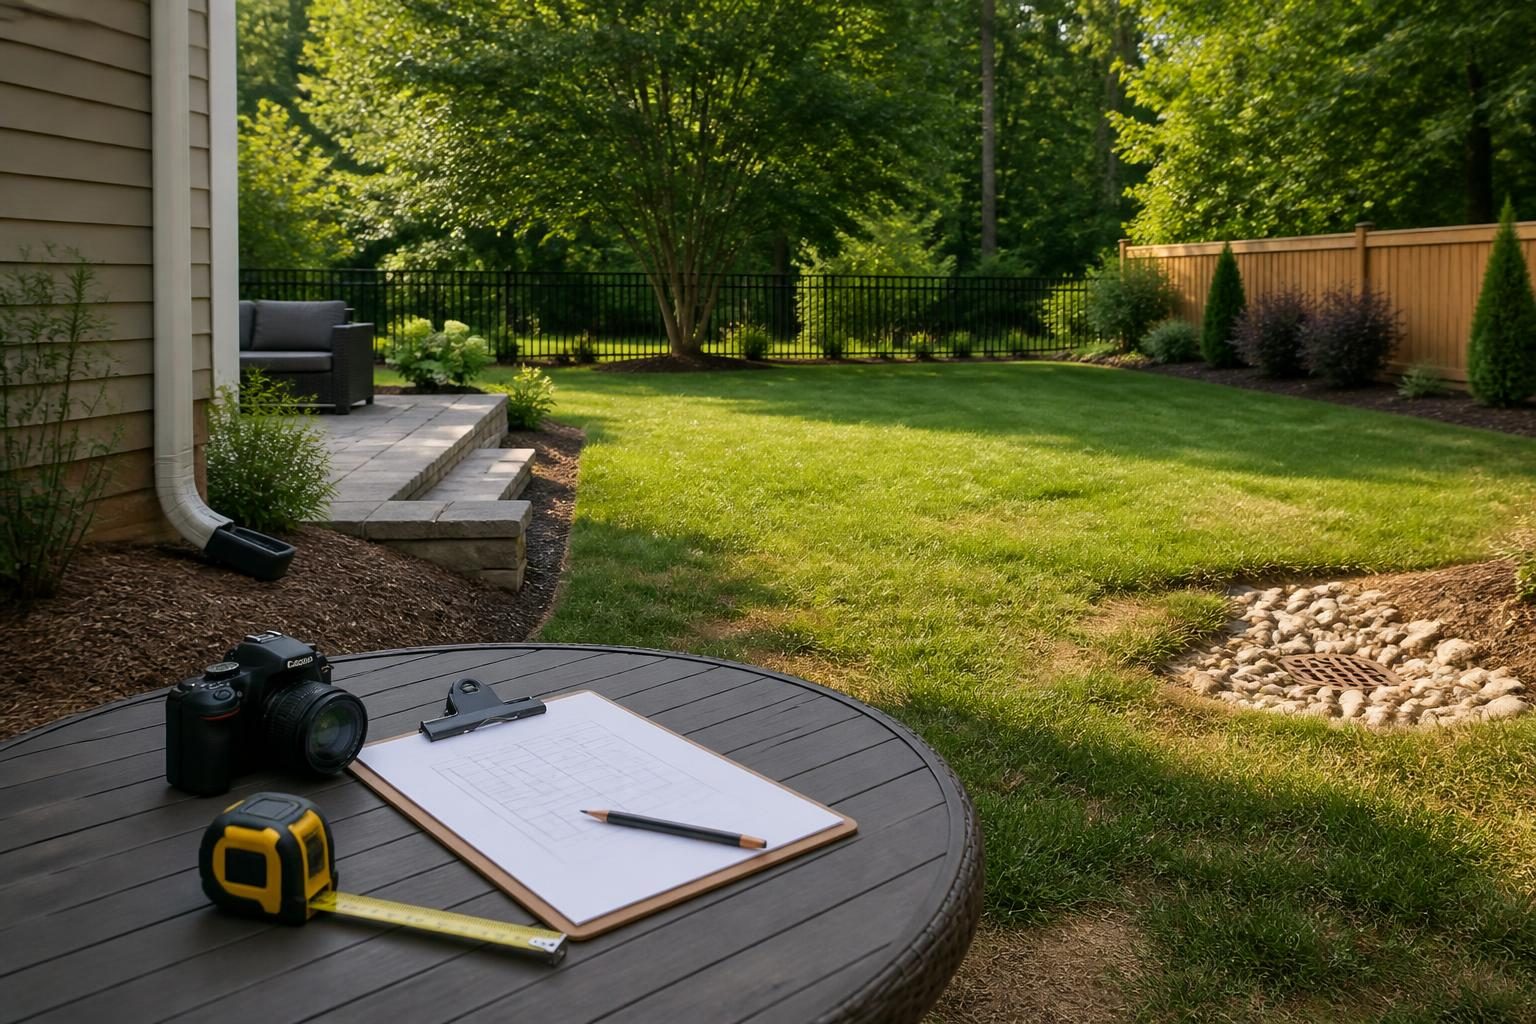
This process is not a substitute for a survey, engineering review, utility locate, permit review, or inspection. Instead, it creates a practical homeowner record. North Carolina requirements and site conditions can vary by jurisdiction, property, utilities, septic systems, flood zones, and project scope.
Why document existing yard conditions?
Construction can temporarily or permanently change access routes, soil levels, planting beds, walkways, fences, drainage paths, and outdoor structures. Some changes may fit the plan. Equipment movement, excavation, spoil storage, weather, or later restoration work can cause others.
A dated record gives you a shared reference point. It can support conversations about the approved scope without assuming that every later change is a defect or that every visible difference has the same cause.
Use this record to:
- Show the condition of surfaces, plants, fences, walls, and structures before work.
- Locate visible drains, downspouts, cleanouts, irrigation heads, and outdoor equipment.
- Record drainage behavior during dry weather and after rain.
- Preserve measurements that may be difficult to repeat after grading.
- Connect photographs to a simple site sketch and written notes.
- Give your contractor useful information before access and staging begin.
Build a repeatable photo record
Photos work best when they show both context and detail. Begin with wide images from the front of the home, each side of the yard, and the rear property area. Stand in repeatable locations, such as a deck corner or doorway. Photograph the same views again during major construction stages.
Next, take medium-range images of each work area. Include the proposed pool footprint, equipment location, access route, material staging area, and nearby features that construction crews may affect. Detail photos should show cracks, stains, leaning posts, damaged pavers, exposed roots, bare soil, erosion, or existing repairs.
Use a simple photo method
- Turn on the camera’s date and location features if you are comfortable using them.
- Take photos in daylight and avoid hiding features with vehicles or stored items.
- Place a ruler, tape measure, or familiar object beside small defects.
- Photograph each feature from more than one direction.
- Keep original files instead of relying only on edited or compressed images.
- Use filenames such as 2026-08-14-west-fence-post-01.
Do not enter restricted areas or remove covers from utility equipment. If a feature is unsafe, photograph it from a safe location and ask the appropriate professional to assess it.
Before work begins, document yard conditions before pool construction from the same viewpoints you plan to use later. Consistent angles make progress comparisons easier.
Measure the yard without treating notes as a survey
Measurements add scale to photographs. They do not establish legal boundaries or replace a professional survey. Use a tape measure for short distances and record the measurement, location, direction, and date.
Useful homeowner measurements include:
- Widths of gates, paths, driveways, and side-yard access routes.
- Distances from visible structures to the proposed work area.
- Locations of trees, planting beds, walls, fences, sheds, patios, and outdoor steps.
- Widths and visible changes in cracks or gaps on hard surfaces.
- Heights of fences, walls, steps, and exposed grade transitions.
- Locations of downspouts, drains, swales, cleanouts, hose bibs, and irrigation controls.
For a slope, note the direction water appears to move. Avoid presenting a phone level or homeowner measurement as an engineering grade. If grades, retaining structures, flood risk, or complex drainage affect the design, request guidance from a qualified surveyor or engineer.
To document yard conditions before pool construction accurately, pair each measurement with a photo and a location marker. This makes later review easier without treating homeowner notes as a formal survey.
A useful companion is the North Carolina pool site evaluation checklist. It can help you organize questions about access, slope, drainage, utilities, and usable yard area.
Record landscaping and living features
Landscaping records should identify more than the plants you hope to save. Photograph the full planting bed, then label individual trees, shrubs, vines, ground cover, raised beds, planters, and lawn areas. Note approximate size and condition.
- Record tree trunks, root flare areas, low branches, and mulch rings.
- Identify established shrubs or plants near the proposed excavation.
- Mark landscape lighting, irrigation heads, valves, and exposed tubing.
- Note edging, decorative stone, pavers, stepping stones, and garden borders.
- Photograph outdoor furniture, play equipment, grills, storage boxes, and planters.
- Mark areas with thin grass, standing water, bare soil, or prior erosion.
Ask the pool contractor how access, excavation, and spoil handling may affect these features. A plan may show removal or protection, but the current condition record helps everyone identify what exists before work begins.
Do not assume a tree, irrigation line, or plant can remain protected simply because it sits outside the pool outline. Equipment, deliveries, grading, drainage, and temporary access can extend beyond that footprint.
Map drainage and surface conditions
Drainage notes are especially useful in a North Carolina yard, where heavy rain can expose paths that are not obvious during dry weather. Walk the property after rainfall, if it is safe. Photograph puddles, flowing water, muddy areas, washouts, blocked inlets, overflowing gutters, and damp spots.
Mark the direction of visible runoff on your sketch. Include roof downspouts, driveway edges, swales, catch basins, trench drains, culverts, retaining structures, and low points. Note whether water appears to come from your roof, an adjoining property, a slope, or a paved surface.
Also record driveways, walkways, patios, decks, steps, pool-adjacent surfaces, existing cracks, settlement, loose pavers, stains, uneven transitions, gate hardware, fence panels, posts, mailbox supports, exterior lights, garage floors, and curb edges.
Construction stormwater and erosion controls may apply to land-disturbing work. Review the NC DEQ Construction Stormwater Program, then confirm project-specific requirements with the local authority and project professionals.
To document yard conditions before pool construction thoroughly, include both normal dry-weather views and safe post-rain observations. These records show how the yard behaved before grading changed it.
Check visible utilities and property structures
Your record should include visible utility features, not guesses about underground routes. Photograph electrical panels, meters, communication boxes, gas meters, well equipment, septic access points, irrigation controls, outdoor water connections, and drainage cleanouts.
Write down labels that appear on equipment. Note which items are active, enclosed, locked, damaged, or difficult to access. Add these features to your sketch using approximate locations. Keep utility bills, well records, septic documents, prior site plans, and drainage records with the project file when available.
Before excavation, the appropriate utility-notification process still matters. Homeowner photographs cannot locate buried lines. Use North Carolina 811 and follow current instructions for excavation planning. Ask the pool contractor and relevant utility professionals how private lines, irrigation, septic components, and other non-public facilities will be addressed.
For septic properties, document visible tanks, risers, inspection ports, repair areas, and drain-field indicators without opening or disturbing anything. Property-specific septic interpretation belongs with the local health department or a qualified septic professional.
Create a sketch and records index
A sketch connects separate photos. It does not need to look like a construction drawing. Start with the home outline, property access points, driveways, fences, and major structures. Add north direction if known, then mark trees, drainage features, utilities, surfaces, and the proposed work zone.
Give each item an identifier. Use the same identifier in your notes, measurements, and photo filenames. Record the date, location, condition, visible dimensions, weather, related photos, and questions requiring professional confirmation.
A dedicated folder can make this manageable. The guide to organizing pool construction documents offers a broader filing approach for plans, permits, correspondence, photographs, and records.
Share the baseline before mobilization
Send the photo index, sketch, and key notes to the project team before equipment arrives. Ask the contractor to identify which items the work plan includes and which require separate review. Keep a copy of the material you shared.
- Which access route will equipment use?
- Where will soil, materials, and construction waste be placed?
- Which plants, surfaces, fences, drains, and structures will be protected?
- How will temporary runoff be managed during excavation?
- Which private utilities require owner-provided information or specialist locating?
- What restoration work is included, and what condition will define completion?
- When should the homeowner photograph work before it is covered?
Put agreed clarifications in writing. If the plan changes, update the sketch and records index. For scope, drawing, material, cost, or schedule changes, use a written process rather than relying on a text message alone. See the pool construction change order checklist for items to document.
Keep recording during the work
Take progress photos at logical milestones: before access begins, after clearing, after excavation, before underground work is covered, after rough grading, and after restoration. Photograph both completed work and surrounding conditions.
Use the same viewpoints when possible. Add short captions that state what the image shows without making conclusions. Let qualified professionals evaluate technical, structural, electrical, drainage, or code-related questions.
Back up files in two locations. Keep original photographs, dated notes, plans, approvals, receipts, and written communications. A well-labeled record can reduce confusion during handover and help future service professionals understand the property.
When to ask for specialist help
Consult the local inspections department about permits, inspections, adopted requirements, and local interpretations. Ask a licensed pool contractor about construction access and restoration scope. For boundaries, grades, drainage, structures, electrical systems, septic features, or underground utilities, involve the appropriate surveyor, engineer, electrician, septic professional, or utility resource.
Documenting the starting condition is a modest step, but it gives your pool project a clearer factual foundation. Build a Pool in North Carolina encourages homeowners to keep the process organized, specific, and easy for the right professionals to review.
Comments are closed