

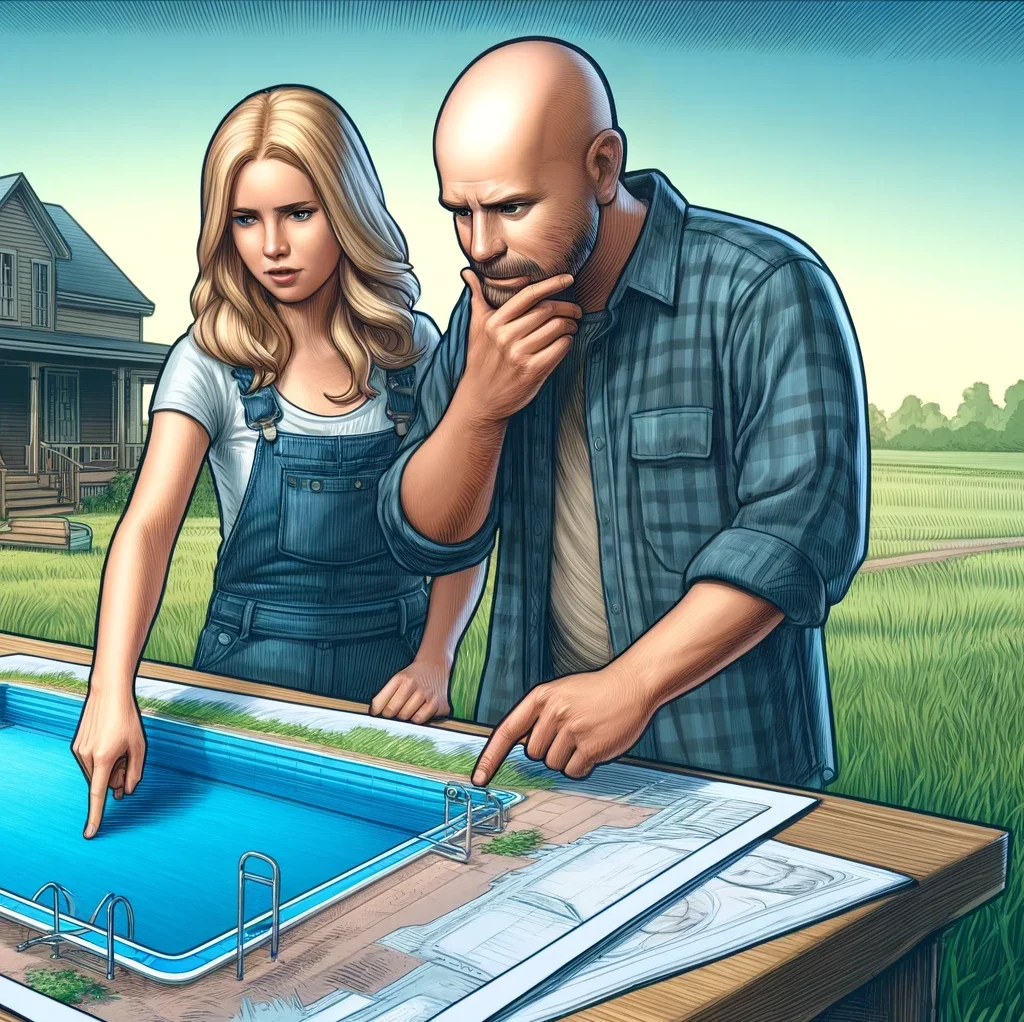
A new pool needs more than a full water level before swimming. This pool startup water chemistry checklist after construction helps North Carolina homeowners organize testing, chemical adjustments, circulation, surface care, cleaning, and records. Follow the pool builder’s written startup instructions first. Surface materials, equipment, water source, and treatment systems can require different steps.
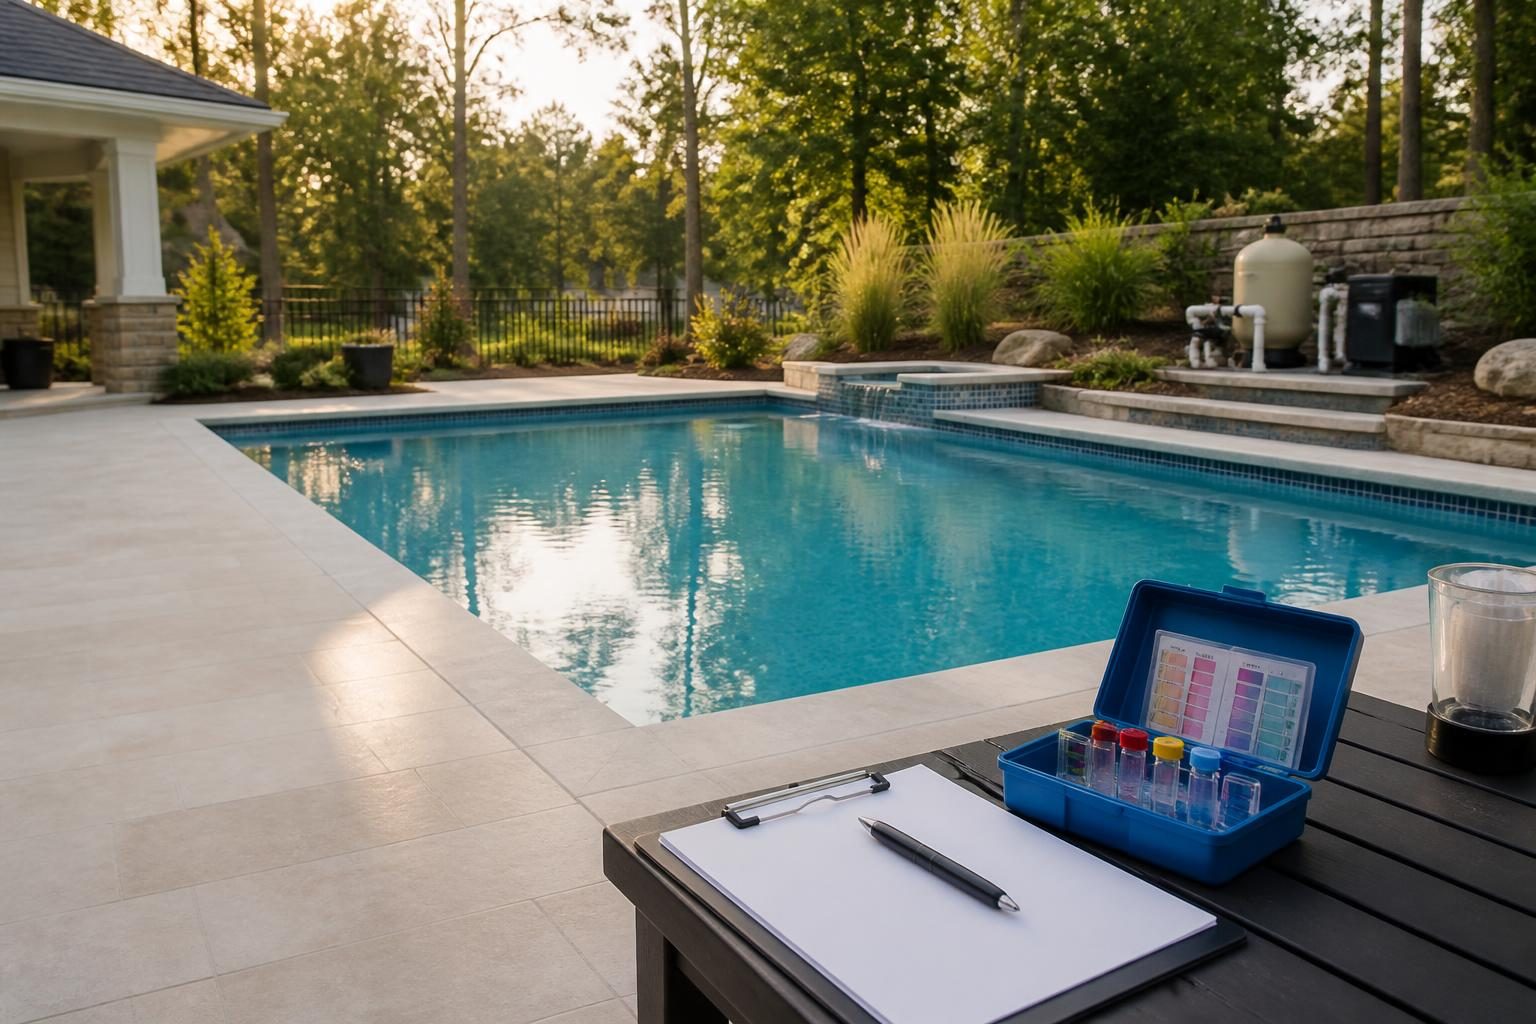
Startup water is also a construction condition. Dust, plaster residue, grout, fill water, and debris can affect test results and filtration. The safest approach is measured. Test before adding products, make one planned adjustment at a time, and confirm uncertain instructions with the builder, finish manufacturer, pool professional, or equipment manufacturer.
Before adding chemicals, collect startup instructions
Ask for written guidance before the pool is filled or immediately afterward. The instructions should identify the interior finish, recommended startup method, water-treatment system, filtration equipment, pump settings, and any limits on brushing or chemical use.
Do not assume that plaster, pebble, tile, fiberglass, or vinyl surfaces receive the same care. Some finishes need early brushing or special circulation. Others may restrict particular tools or products. The manufacturer’s directions and the installer’s instructions should control your routine.
Make a startup information folder
- Record the fill date, water source, and approximate fill completion time.
- Save finish-care instructions, equipment manuals, labels, and startup forms.
- Write down pump, filter, heater, salt system, ozone unit, or automation settings.
- Photograph the initial water condition and equipment display screens.
- Keep receipts, test reports, chemical additions, and professional service notes.
For a broader overview of the construction-to-ownership transition, see what to expect during a new pool startup. That guidance can supplement, but not replace, project-specific instructions.
Pool startup water chemistry checklist after construction: the testing sequence
Start with a baseline test. Use the method recommended for your water-treatment system. A reliable drop test or professional test may provide more useful information than an old or poorly stored strip kit. Follow the kit’s sample depth, collection method, expiration date, and reading instructions.
Common startup measurements include pH, sanitizer level, total alkalinity, calcium hardness, and water temperature. Depending on the system, you may also need to check stabilizer, salt, metals, phosphate, or other factors. The correct testing list depends on the finish and equipment. This pool startup water chemistry checklist after construction is a process guide, not a universal set of target numbers.
- Test the source water. If practical, test fill water before it enters the pool. Well and municipal water can have different mineral profiles.
- Test the filled pool. Let the water mix according to the professional’s instructions before relying on a sample.
- Adjust in the recommended order. Ask which level should be corrected first. Avoid several major changes at once.
- Allow circulation. Give the water time to mix before retesting. The required period depends on the system and instructions.
- Record every result. Include the date, time, test method, reading, product, amount, and person who made the adjustment.
General water-treatment guidance is available from the Centers for Disease Control and Prevention’s home pool testing resource. Treat it as general education. Your finish, equipment, and local professional instructions may call for a different startup plan.
Balance the water carefully
Water balance means keeping several measurements within the ranges recommended for your pool system. The goal is not to chase a single number. A change in pH, alkalinity, sanitizer, or hardness can affect another reading and may affect the surface or equipment.
Use only products labeled for the intended pool application. Read the label before use, and never mix concentrated chemicals together. Keep the circulation system operating as instructed while products disperse. Some treatments require the pool to remain closed for a specified period.
Questions before making an adjustment
- Which reading should be corrected first?
- What target range applies to this interior finish and treatment system?
- Should the pump run continuously during this phase?
- How long should the pool remain closed after this product is added?
- When should the water be retested?
- Could fill-water minerals or metals affect the result?
If the water looks cloudy, colored, foamy, or unusually rough, pause before adding more products. Take a fresh sample, photograph the condition, and contact the responsible professional. A visual change can have several causes, and repeated additions may make diagnosis harder.
Run filtration and circulation as directed
Filtration removes suspended material from the water. Circulation moves water through the skimmers, pump, filter, returns, heater, and other connected equipment. During startup, these functions may need a different schedule than they will during ordinary ownership.
Confirm which valves should be open, which equipment should remain off, and whether automatic features are enabled. Never operate equipment against a closed valve unless the manufacturer specifically allows that condition. If you hear unusual sounds, see an error message, lose prime, notice a leak, or observe weak return flow, stop and seek qualified help.
Check the filter pressure or indicator only as the manual describes. A pressure change can signal debris loading, a valve-position issue, or another condition. Do not open a pressurized filter. Turn the system off and follow the manufacturer’s shutdown and pressure-release procedure, or ask a qualified pool professional to do it.
Keep a simple circulation log. Note the pump mode, filter reading, water clarity, visible flow, and any alarms. This record can help a professional understand what changed without relying on memory.
Brush, clean, and inspect the new pool
Surface care often begins soon after filling, but the exact timing and method depend on the finish. Use the brush type and frequency specified by the finish manufacturer or startup professional. Avoid improvising with abrasive tools or household cleaners.
Brush areas where residue may collect, such as steps, benches, corners, floor transitions, and around returns, if the instructions permit it. Work methodically so you can identify missed areas. Do not drain a new pool or lower the water level without professional direction. Hydrostatic pressure, groundwater, finish condition, and site drainage can make water-level changes significant.
Daily visual check
- Look for dust, scale, stains, discoloration, or surface deposits.
- Check skimmer baskets and the pump basket when the system is safely off.
- Confirm water is moving through the intended returns.
- Watch for leaks around equipment, fittings, valves, and visible connections.
- Inspect the deck and nearby drainage for standing water or runoff.
Remove leaves and construction debris promptly with equipment approved for the pool surface. Keep landscaping soil, mulch, fertilizer, and masonry dust out of the water. If nearby work is still underway, ask the builder how to protect the pool and equipment while preserving the startup schedule.
Use a written record instead of memory
A startup record gives you a timeline. It also helps separate normal early adjustments from conditions that need prompt attention. Use a paper log, spreadsheet, or maintenance app, but keep an export or backup.
For each entry, record the test date and time, water temperature, readings, chemical additions, circulation settings, filter condition, weather, and observations. Photograph unusual discoloration, deposits, leaks, alarms, or equipment displays. Include a ruler or another fixed reference only when it helps show scale without touching the surface.
Keep communication factual and specific. Instead of writing that the water is “bad,” note the test result, appearance, location, date, and action taken. Save written responses from the builder, service provider, and manufacturers with related photographs and test results.
Use this pool startup water chemistry checklist after construction as a repeatable recordkeeping framework, not as a substitute for finish-specific or equipment-specific directions.
You can also review this guide to home pool water testing basics and the article on pool project records to keep after completion. Both are useful references for ongoing documentation.
Decide when to pause and call for help
Stop making adjustments when instructions conflict, results seem impossible, or the pool condition is worsening. A professional may need to collect a sample, inspect circulation, verify equipment operation, or identify the surface material before recommending the next step.
- Ask the installer for clarification if startup instructions are missing or unclear.
- For stains, deposits, roughness, or unusual color, consult the finish specialist.
- Persistent imbalance or unclear test results warrant help from a pool professional.
- Electrical faults or alarms require an electrician or equipment professional.
- Model-specific operating limits should come from the equipment manufacturer.
Do not swim until the responsible professional or product instructions indicate that the water is ready. Keep children and pets away during chemical additions and while equipment conditions are uncertain. Store products in their original containers, separated as directed on their labels.
A calm first-week routine
Each day, follow the same order: inspect the water, test the required measurements, compare results with written startup targets, make only approved adjustments, run circulation as directed, brush or clean as permitted, and record what happened.
That routine makes the first days less confusing. It also creates useful evidence if a question arises later. New pool water can change as construction residue clears and the treatment system begins operating. Patient observation is usually more useful than adding products without a confirmed reason.
North Carolina conditions can vary by water source, weather, property drainage, equipment, finish, and local project requirements. Consult the local inspections department for applicable local questions. Ask a licensed pool contractor, finish specialist, electrician, engineer, or other qualified professional when the issue involves that field.
Comments are closed