
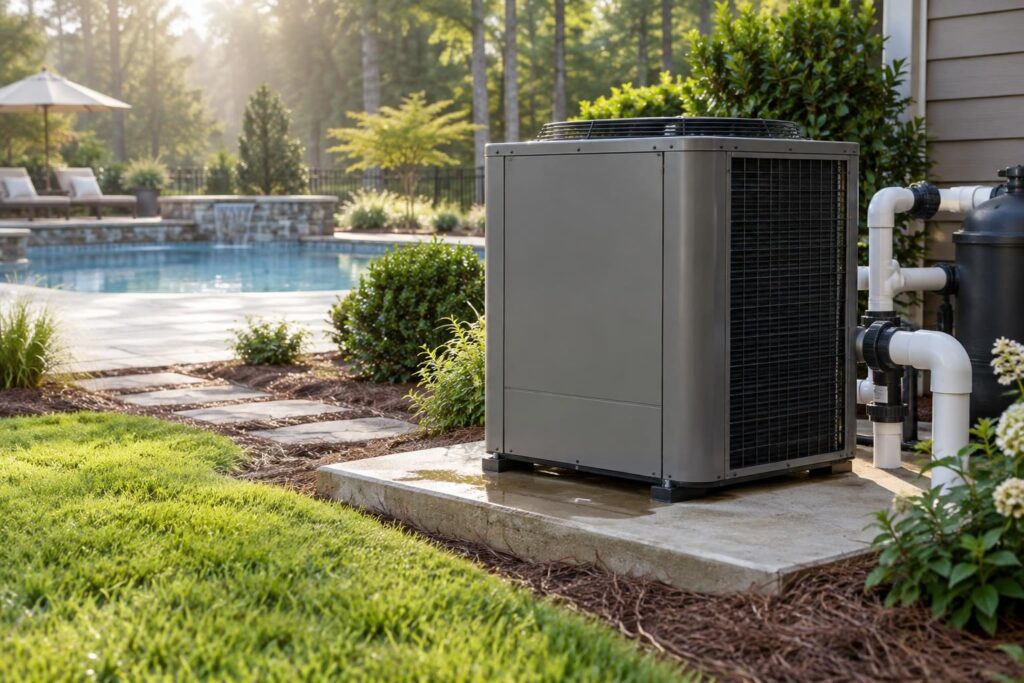
Understanding pool heat pump condensation versus leak starts with a simple limit: a puddle alone cannot identify its source. North Carolina humidity can produce noticeable condensate, the water that forms when moist air meets a cold surface. However, nearby plumbing leaks, rainfall, and poor drainage can create similar wet areas. Your role is to observe safely and document patterns, not open equipment or declare standing water harmless.
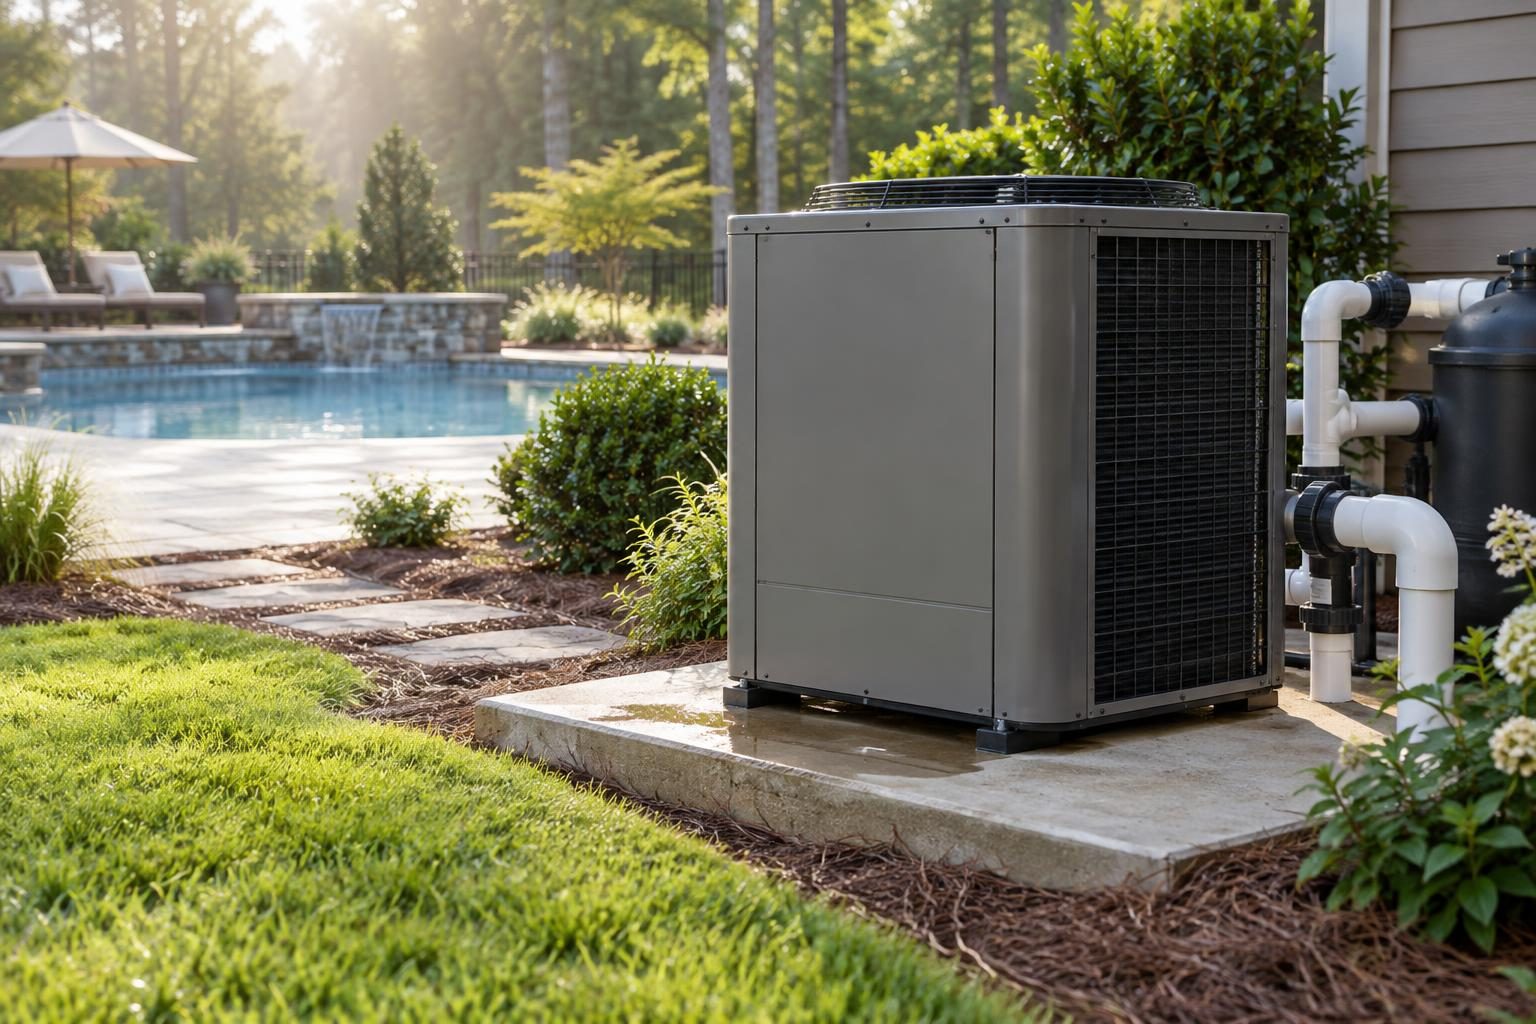
A useful service request includes photographs, operating status, weather notes, and the history of the wet area. Those details help a qualified technician decide what to investigate.
Why humidity and heating cycles affect condensation
A pool heat pump transfers heat from outdoor air into pool water. During heating, its air-side coil can become cold enough for moisture to condense. That water normally leaves through the unit’s designed drainage path.
Humid air can provide more moisture for condensation, but humidity alone does not predict puddle size. Air temperature, coil conditions, operating duration, and drainage also matter. There is no universal puddle size that proves normal operation.
During a long heating cycle, water may collect more visibly than during brief operation. Residual water can continue draining after heating stops. Some models also use defrost cycles, which remove frost from the outdoor coil and may release meltwater.
Conditions vary across North Carolina’s coast, Piedmont, and mountains. Record actual weather rather than assuming every damp day should produce the same amount of water. Our guide to comparing heat pump performance in North Carolina explains broader temperature and humidity considerations.
Set safety limits before approaching a wet equipment pad
Observe only from a dry, stable location. Do not enter standing water near electrical equipment, touch wet controls, or remove cabinet panels. Never insert tools into drain openings, reach beneath the unit, or loosen plumbing connections.
Stop observations if you notice damaged wiring, smoke, burning odors, repeated breaker trips, or water reaching electrical components. Keep others away and contact a qualified professional. For smoke, fire, or suspected immediate electrical danger, contact emergency services.
If safely accessible, a familiar remote control may let you stop heating. Turning heating off does not electrically isolate the equipment. Do not approach an unsafe disconnect or repeatedly reset a tripped breaker.
Keep children away from the equipment area and preserve pool barriers during service access. The CPSC’s Pool Safely safety guidance reinforces the need for supervision and layers of protection. Do not prop a pool gate open while taking photographs.
Observe where water first becomes visible
From outside the equipment, look for the first visible wet point rather than only the largest puddle. Water can travel along the pad before collecting somewhere else.
- Unit base: Note whether water appears beneath the cabinet or at an identifiable external drain outlet.
- Exposed plumbing: Photograph visible drips at pipe joints or unions, the removable connections beside the heater.
- Nearby equipment: Look for water arriving from the filter, circulation pump, or other equipment.
- Surrounding ground: Record runoff, irrigation spray, roof drainage, and wet soil touching the pad.
- Water path: Note whether water moves toward a walkway, building, electrical equipment, or lower ground.
Photograph the full equipment area, then take closer views without stepping into water. Use the same viewpoints on later visits. A brief video can show an active drip better than a still photograph.
Do not hose the pad, add dye, or block a drain to make the source easier to see. Those actions can obscure evidence or create another problem.
Compare heating status without conducting a DIY leak test
For pool heat pump condensation versus leak observations, timing provides clues—not proof. Distinguish the heat pump from the circulation pump, which moves pool water through the equipment.
Watch normal operating periods rather than forcing repeated starts and stops. If the manual permits, use a familiar user control to stop heating while leaving circulation unchanged. Only do this when conditions are safe. Do not change valves, bypass flow protections, or disable freeze protection.
- Record whether the display indicates active heating, standby, or defrost.
- Note whether the circulation pump is running and record its displayed speed, if available safely.
- Compare the wet area during heating and during a later period without heating.
- Allow for residual drainage; immediate dripping after shutdown does not settle the question.
- Record rain and irrigation between observations.
Water that persists without heating deserves investigation, especially when it appears at exposed plumbing. It still does not prove a particular component has failed. Likewise, a puddle that shrinks after heating stops does not exclude a leak. Condensation and a leak can occur together.
Create a short operating and weather log
Keep one consistent record instead of sending scattered photographs without context. Start with the model and serial number from existing paperwork. Photograph an exterior label only if you can reach it safely. For pool heat pump condensation versus leak questions, this record gives a technician useful context.
- Date and time: Include when you first noticed water and when each photograph was taken.
- Weather: Record recent rain, irrigation, air temperature, and reported humidity, identifying the weather source.
- Operating status: Note heating status, water-temperature display, setpoint, and visible error messages.
- Wet-area pattern: Describe its location, direction of travel, and whether it grows or recedes.
- Pool context: Note water-level changes, automatic filling, swimming activity, and recent maintenance.
- History: Include startup, winterization, repairs, landscaping changes, or the first use after a long shutdown.
Pool water-level changes provide context, not a diagnosis. Evaporation, rain, splash-out, and automatic filling can complicate comparisons.
Store this log with your seasonal opening and closing records. Prior service notes may help identify whether the pattern is new.
Avoid shortcuts that can give false reassurance
Clear water is not proof of condensation. Pool water can also look clear. A chlorine test on a puddle is not a reliable standalone diagnosis: rain, soil, dilution, and sanitizer loss can complicate interpretation.
Never taste the water, handle it to judge temperature, or approach electrical equipment to collect a sample. Ask the technician whether testing would help and how they will perform it safely.
Do not assume low heating output proves an internal water leak, either. Weather, settings, water flow, and equipment faults can affect heating. Record symptoms separately so the technician can evaluate them together.
If someone dismisses the water as normal without reviewing its source, request an explanation tied to your model and operating conditions. An incomplete explanation does not establish wrongdoing. It does justify asking what was checked and what remains uncertain.
Request a written diagnosis and repair scope
A service request about pool heat pump condensation versus leak should ask for findings, not just a label. Send the log and photographs before the visit when possible.
- What evidence identifies the water source, and could there be more than one?
- Does the condensate drainage arrangement match this model’s installation instructions?
- Were exposed plumbing, drainage paths, and reported operating symptoms evaluated?
- Is continued operation appropriate while the issue remains unresolved?
- What repair, drainage correction, or further testing is recommended?
Before authorizing work, obtain a written scope covering diagnosis, parts, labor, exclusions, and additional-work approval. Ask who handles warranty authorization and which charges may remain your responsibility. Independently confirm claimed manufacturer authorization through the manufacturer’s service process.
Keep invoices, written communications, findings, and correction photographs. Photograph accessible work before it is covered. Match payment requests to the agreed scope and milestones. At completion, request operating checks, remaining concerns, and any applicable inspection records.
Address standing water even when condensation is confirmed
Normal moisture production does not make its collection harmless. Persistent wet areas can create slipping hazards, encourage biological growth, or soften nearby soil. Water routing is a separate issue from identifying its source.
Ask whether drainage corrections would affect equipment support, airflow, service access, nearby structures, or neighboring property. Do not plug base openings, improvise a drain connection, or regrade around equipment without qualified review. Our guide to observing surface water movement offers a useful documentation approach.
Consult a qualified heat-pump technician or appropriately licensed pool contractor when the source remains uncertain. Use a licensed electrician for electrical concerns and a drainage professional or engineer for persistent site problems. North Carolina requirements vary by jurisdiction, adopted code, utilities, septic systems, flood zones, property conditions, and project scope. Confirm permit and inspection needs with the local inspections department before modifying equipment or drainage.