
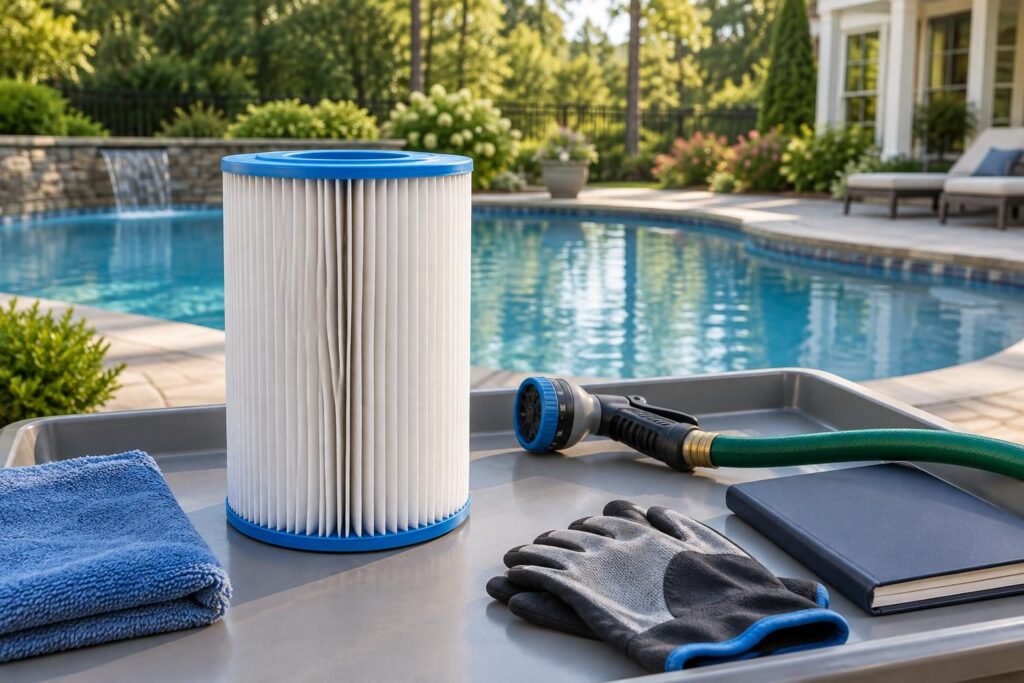
Good pool filter cartridge cleaning removes trapped debris without weakening the folded fabric that catches it. Those folds, called pleats, provide filtering surface within a compact cartridge. Stronger spray and harsher chemicals do not automatically produce better results. Start with the instructions for your exact filter and cartridge, then plan safe handling and rinse-water disposal.
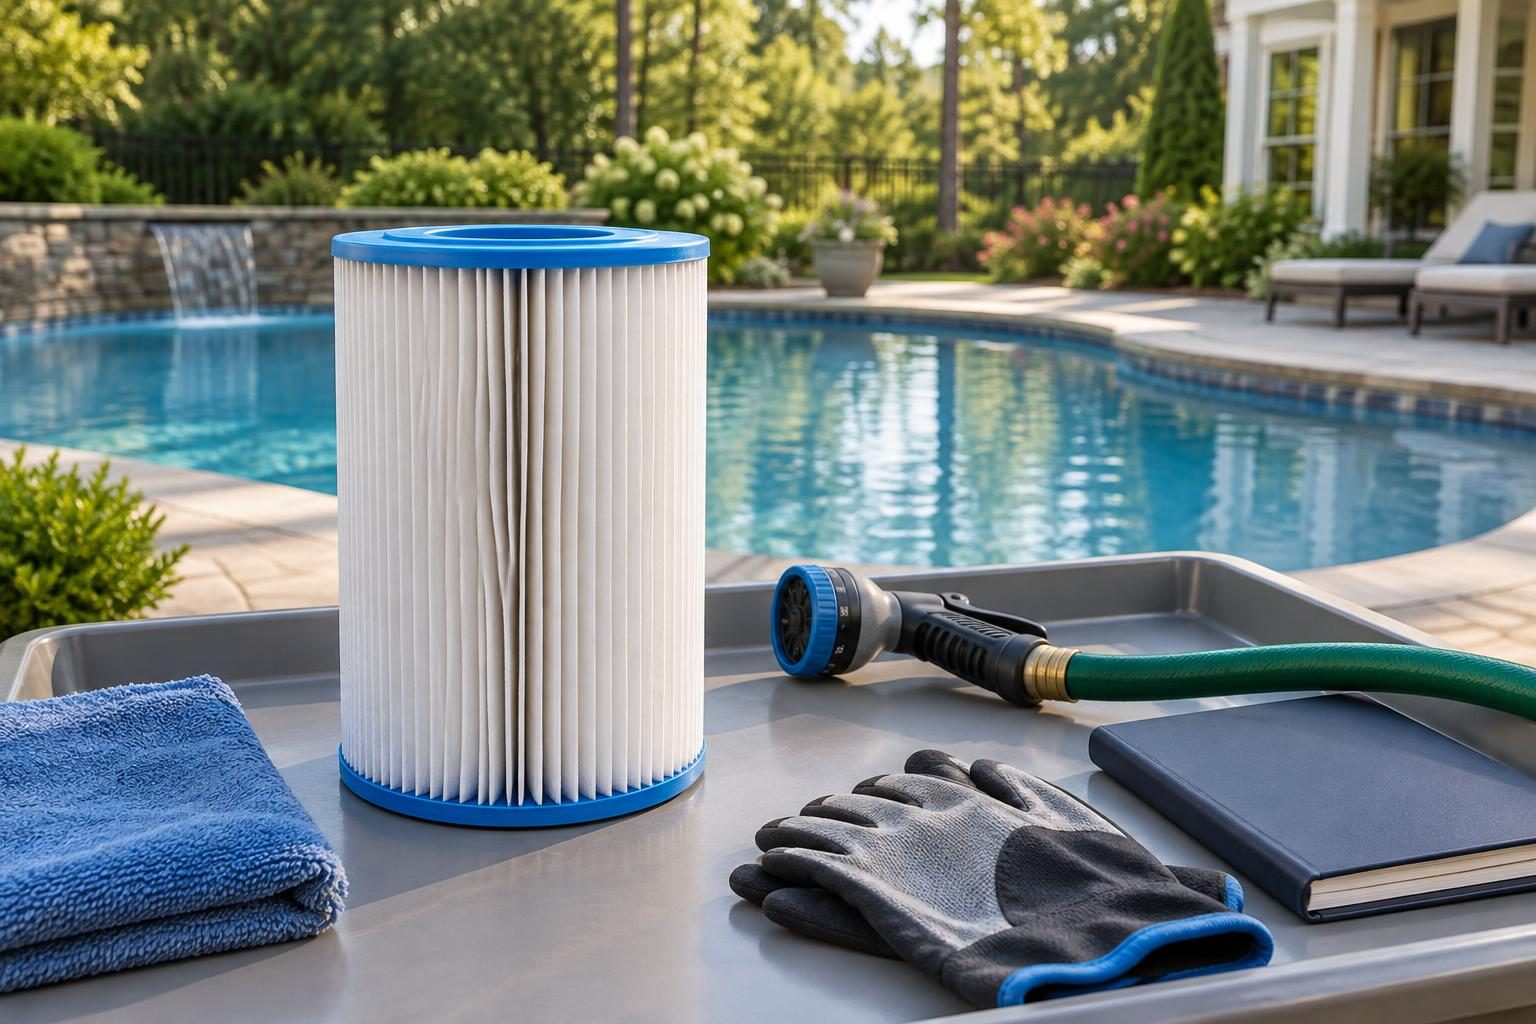
For North Carolina homeowners, the job also depends on the property. A convenient driveway drain or patch of grass may not be an appropriate discharge location. This guide explains what to verify, when to stop, and which records make future service decisions easier.
Find the correct cartridge cleaning instructions first
Identify both the filter housing model and the installed cartridge part number. The housing is the pressure-containing tank around the cartridge. Replacement cartridges may have their own care instructions, so do not rely on the housing label alone.
Obtain the current manuals from the manufacturer or request them from your service provider. Confirm these points before opening anything:
- The shutdown, pressure-release, opening, and restart procedures.
- The approved rinsing method and any nozzle restrictions.
- Permitted cleaners, treatment order, and soaking instructions, if applicable.
- Inspection criteria for fabric, end caps, seals, and internal supports.
- Correct replacement parts and closure hardware instructions.
If instructions conflict, ask the manufacturers to resolve the difference. A product described as suitable for pool filters is not necessarily suitable for every cartridge. Keep the written answer with your equipment records. Keep these instructions available throughout pool filter cartridge cleaning.
Plan the cleaning station and rinse-water destination
Set up a clean, stable work area before shutdown. Keep cartridges away from gravel, sharp edges, electrical equipment, and places where dirty water could reenter the pool. Maintain closed gates and keep children and pets away from the work.
Rinse water can contain trapped dirt, pool-treatment residues, and any cleaner you use. Plain-water rinsing and chemical cleaning may need different handling arrangements. Do not assume that a storm drain, sanitary sewer, septic system, or lawn is an approved destination.
North Carolina requirements can vary by jurisdiction, utilities, property conditions, and discharge contents. Ask the local stormwater office or wastewater utility about the proposed destination. For septic properties, consult environmental health staff or a qualified septic professional. Protect wells, drainfields, waterways, neighboring land, and house foundations while planning.
Our guide to verifying filter-wastewater disposal options offers related questions. Cartridge rinse water is not backwash, but its destination still needs review. If collection is necessary, arrange suitable containment before starting.
Shut down and release filter pressure safely
A pressurized filter can cause severe injury if opened improperly. This overview does not replace the equipment-specific procedure. If you cannot identify the controls or understand the manual, have a qualified pool service professional demonstrate the process.
Follow the manufacturer’s shutdown instructions for the pump and connected equipment. Prevent automatic or remote restart using the specified power-isolation procedure. Turning off an app schedule alone is not a substitute for isolating power. Do not open electrical enclosures or attempt wiring work.
Use the manual’s valve positions and designated air-relief procedure. The air-relief valve releases trapped air from the housing. Stay clear of its discharge and follow all warnings about your position near the tank.
Complete the pressure-release procedure and verify the required zero-pressure condition before touching closure hardware. Do not trust the gauge alone if its operation is uncertain. Never loosen a clamp or lid to release pressure. Unexpected pressure, a damaged gauge, or unclear valve settings means stopping for professional help.
Remove cartridges without pulling on the pleats
Open the housing only after completing every required safety step. Follow the manual when removing internal parts, especially in filters containing several cartridges.
Photograph the arrangement before removal. That record can help a technician identify missing parts or incorrect positioning later. It does not replace the assembly diagram.
Lift each cartridge by the manufacturer-designated handling points. Do not drag it across the housing edge, yank the fabric, or force apart stuck components. Keep track of internal supports and connecting pieces.
Inspect the cartridge before rinsing. Photograph tears, crushed folds, loose bands, cracked end caps, and unusual deposits. Pre-cleaning photographs help distinguish existing damage from changes noticed afterward. If a cartridge will not come free as instructed, stop rather than improvising leverage against the tank or fabric.
Use gentle rinsing for pleat protection
The goal of pool filter cartridge cleaning is to release debris, not blast the fabric white. Use the water source, nozzle, and technique permitted by the manufacturer. Do not use a pressure washer for routine cartridge cleaning.
For a cartridge whose instructions allow garden-hose rinsing, use a gentle stream and work methodically around it. Follow the specified spray direction. Let water carry debris out rather than driving a concentrated jet into one spot.
- Support the cartridge so it cannot fall or roll into dirt.
- Keep the nozzle from contacting the fabric.
- Do not pry folds apart with screwdrivers or other hard tools.
- Avoid stiff brushing or aggressive scrubbing unless expressly permitted.
- Check that loosened debris leaves through the planned collection or drainage route.
If material remains embedded, pause and identify the deposit. More force can damage pleats without solving the underlying problem. Persistent discoloration alone does not establish that the cartridge needs harsher treatment or replacement.
Check cleaning-product restrictions before soaking
Chemical treatment is not an automatic step in pool filter cartridge cleaning. Oils and mineral deposits can require different approaches. The cartridge manufacturer should identify which products and treatment sequence are acceptable.
Do not improvise acid washes, bleach treatments, household-detergent baths, or chemical mixtures. Never mix cleaning chemicals. Avoid transferring instructions from a different filter type or an unrelated online demonstration.
If an approved cleaner is needed, follow both its label and the cartridge instructions. Verify dilution, contact time, protective equipment, ventilation, container suitability, final rinsing, and disposal. If those directions conflict or leave a safety question unanswered, stop and contact the manufacturer.
Keep cleaners in their original labeled packaging. Record the product used and retain its instructions. Ask a service company to identify its proposed cleaner in writing before treatment, particularly when warranty coverage remains relevant.
Inspect the fabric, end caps, and supports
After rinsing, inspect the cartridge in good light. The end caps are the rigid pieces attached to the ends of the pleated material. Look for damage at those connections, not just across the visible folds.
- Torn, frayed, or worn-through fabric.
- Pleats that remain crushed or distorted.
- Cracked end caps or separation between caps and fabric.
- Broken internal supports or damaged retaining bands.
- Deposits that remain after the approved cleaning process.
Compare findings with the manufacturer’s replacement criteria. Do not patch tears, glue end caps, or keep escalating cleaning strength. Ask a qualified technician to evaluate uncertain damage before returning the cartridge to service.
A replacement recommendation should identify the observed condition and compatible part number. Request photographs and a written explanation rather than accepting age alone as the entire diagnosis. Our filter replacement record checklist explains what to preserve when parts change.
Reassemble and restart using the exact manual
Follow the manufacturer’s instructions for cartridge positioning, internal assemblies, seals, and closure hardware. Use only specified replacement seals and approved lubricant where required. Do not guess at clamp seating or tightening requirements.
Keep equipment off until assembly and pre-start checks are complete. Follow the prescribed valve settings, air-release sequence, and safe standing position during restart. Never adjust or tighten closure hardware while the system is pressurized.
Observe from a safe location for leaks, unusual sounds, unstable pressure, or persistent air. Stop the equipment if something appears wrong, then follow the safe shutdown procedure before further examination.
Record the post-cleaning pressure along with pump speed and operating mode. Comparisons are useful only when operating conditions are comparable. The safe equipment leak observation routine can help you document concerns without opening components.
Keep service records and verify unresolved concerns
A useful pool filter cartridge cleaning record includes the date, cartridge identification, photographs, cleaner details, and comparable before-and-after readings. Retain written recommendations, replacement receipts, and any correction records.
When hiring service, agree on cleaning scope, products, disposal responsibility, replacement authorization, and charges beforehand. Unexplained substitutions or reluctance to identify chemicals warrant clarification, not an automatic accusation of wrongdoing. Independently compare important claims with the manufacturer’s instructions.
Cleaning also does not replace sanitation or water testing. Consult the CDC’s home pool treatment and testing guidance for that separate responsibility.
Consult a qualified pool service professional whenever opening, pressure release, cartridge condition, or reassembly is uncertain. Use a licensed electrician for power-isolation questions involving electrical work. For rinse-water decisions, contact the appropriate local utility, stormwater office, or septic professional before discharge.